Monday, January 20, 2014

DIY Nail Polish Rack!!


Hello :) so i usually keep my nail polishes in a cute hat box that i have but i had an empty wall next to my vanity and decided it would be a great way to cover up the bare wall and add more decor to the room! i have a BUNCH OF NAIL POLISHES!! its an addiction of mine along with jewelry, shoes, clothes, and purses :) so let's get into how to make it


What you need: 
         you can get supplies at Michaels  ( the best store ever )


  1. Wooden frames
  2. wood for the shelves
  3. wood glue 
  4. black paint ( you can use spray paint if you prefer)
  5. sponge paintbrushes 
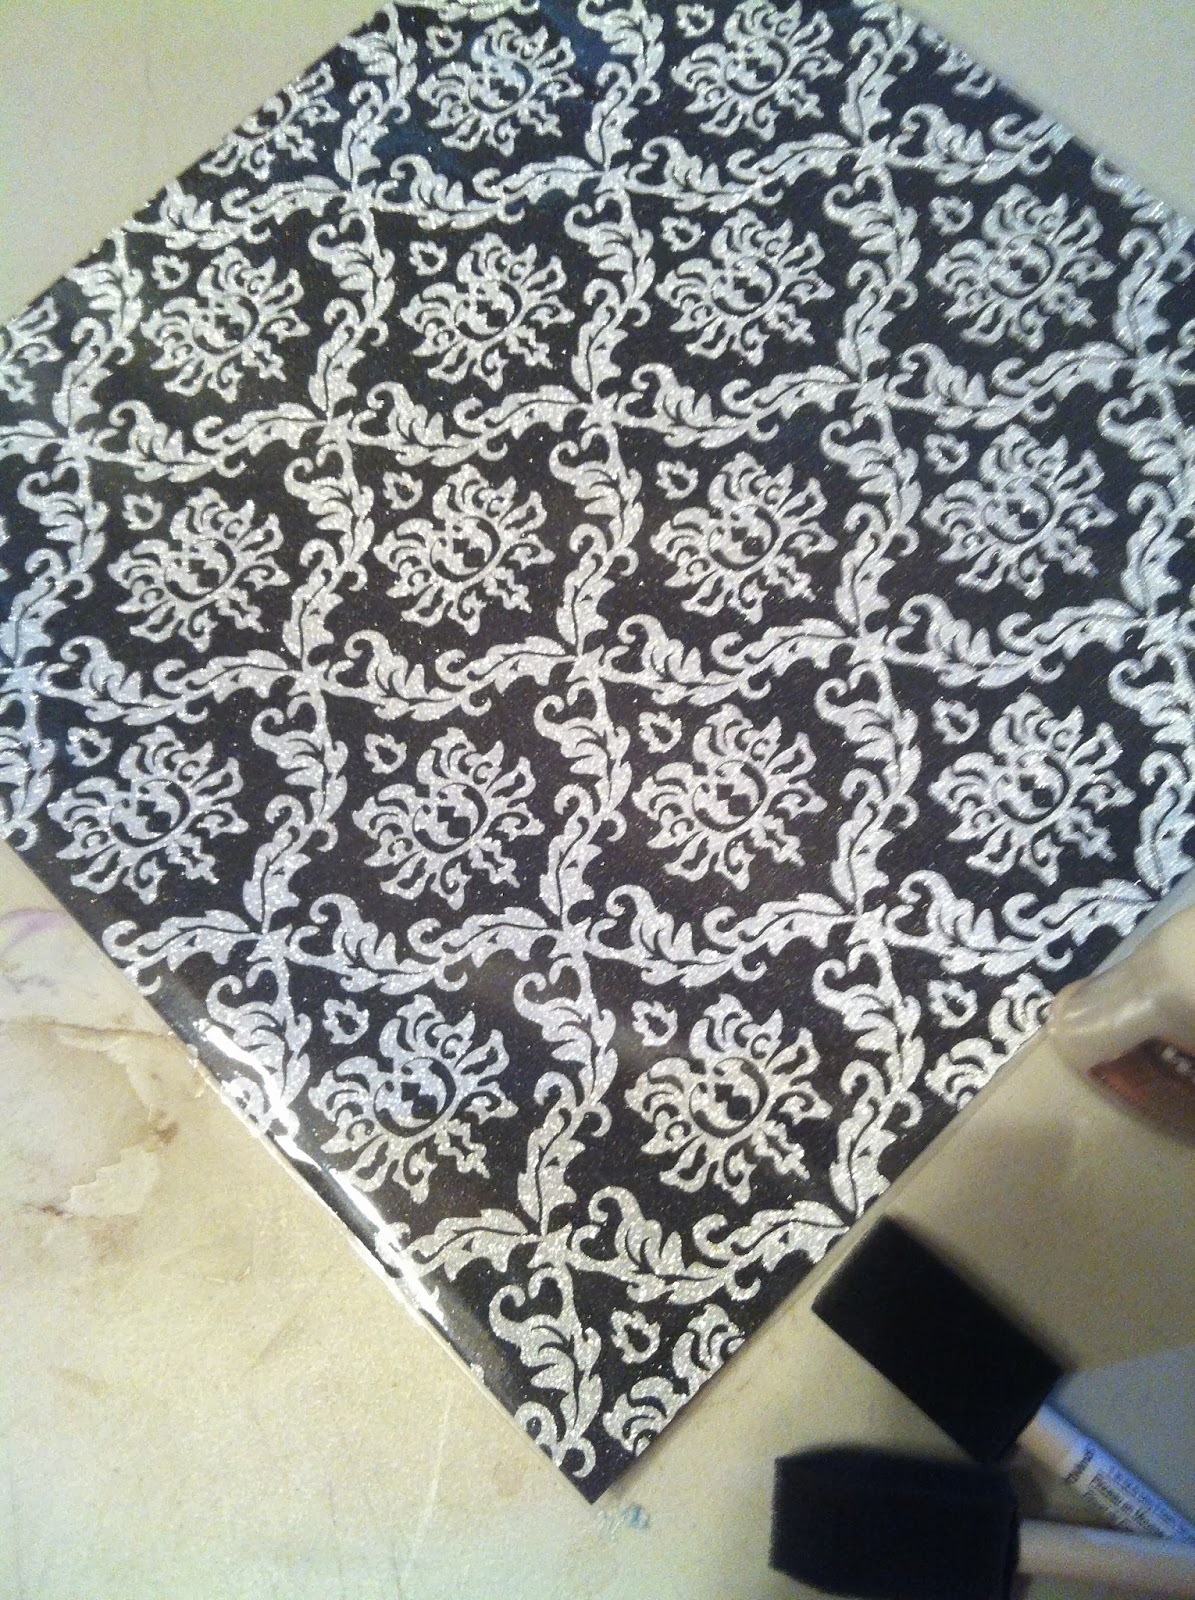
  6. scrapbook paper for the back
  7. and a box cutter to cut the wood! 
  8. sandpaper 


steps: 

  1. paint the frames and wood for the selves

  2. Next cut the wood shelves to fit across the frames and glue them on


 put the small wood pieces to hold the nail polish from falling


glue the frames together and place them ontop of each other add something heavy on top to help it dry in place

                 3. once dry glue on the scrapbook paper on the back of the frame 


              4. NOW hang it up to show off!!!! 


thanks for taking the time to read this DIY let me know if you'd like more :) <3


Tuesday, January 7, 2014

DIY heart photo collage

So these past few months have been crazy and I'm not really sure why i ended up not writing and continuing my blog! i've done so many mini projects here lately and i'll show you this one that i did recently!


So i decided my walls were pretty empty and needed something on them to make them not so plain and dull!! I developed a bunch of photos and put them into a heart shape on the floor and organized them how i liked them! after that i started putting tape on the backs of the photos and transferring them to my wall. I didn't draw any lines or anything to make sure it was straight i kinda just went for it so they are not PERFECT but you can't tell that they arn't lined up perfectly so I LOVE THIS! has all my best friends and some family in the pictures! i took the photo a lil crooked i promise it isn't like this on my wall its pretty even.


I even added a wall sticker above it to give a little more decoration to it. "Be your own kind of Beautiful" all in all i LOVE this and it really helps the plainness in my room!!

Thanks for reading and i have plenty more DIY and shopping finds to show you all so leave feedback for anything you'd like to maybe see me do!! 
                                                     
                                                                  xoxoxo Kimberly

Monday, March 18, 2013

Senior Pics:)

So this week im working all week but thought i'd share some photos from a photoshoot with my aunt! They were for my senior pics to show off my viola:)

We had so much fun taking these! My Aunt Tenia bought this dress for a whole QUARTER !! (another reason i LOVE thrifting!)


Here's some photos:


I am inlove with these pictures and LOVE this dress! it was perfect for these pictures!

 Thanks for reading or actually looking:) Have a lovely week<3

~Kimberly :D

Thursday, March 14, 2013

Shopping Haul!!

So I have a project I'm working on that should be ready soon!! I can't wait to share it!

But today I went shopping at catos and rue 21 and got some cute things I thought I'd share, no its not thrift store but im going thrifting next week so watch for that!!!

Here are some things i got at catos and rue 21

This is an overview of everything!! the tank top was $3 and the other 3 shirts were $5 a piece
What a steal!!!!

          The necklace was 3.99 and the pack of three was just 2.99!!!! the wrap watch was 4.99

                                                               all 4 belts i got for $6!!
                                           these shoes were 5.99!!!!!!!!!!!!!!!!! i love these!


And now I saved the best for last!!!!!!! It's a hot pink purse! has great amount of space and pockets only $15! ah it's so perfect I love this the most!


So all together today i spent about $55 which isn't all that bad!!
Thanks for reading my post I'm excited about all this stuff even if it isn't thrifted it was all still really cheap!!! 
Have a beautiful day dolls :) <3 
~Kimberly Ott 

Wednesday, March 13, 2013

Re-purposed Jewelry Box

So I am so excited to start my own blog and this project is the perfect one to get it started off! I can't wait to show off all these fun simple projects I do with you all.


On this project I got a regular old jewelry box I've had for years and the glass door had broke on it so I decided I would fix it up instead of throw it out.

 Here's what the finished look looks like,


What you need for this is :
paint 
paint brushes
spray paint
cardboard
tape 
mod podge
sponge brush
scrapbook paper
scissors or box cutter
Here's some of the things i used...


  1. The first step would be to tape the parts you don't want to get paint on. Then spray paint the whole box.I let it dry for about an hour. 
  2. Next I cut out cardboard to fit the part where the glass use to be. I mod podged the front with the scrapbook paper and painted the other side black. 

       3.  After I painted the handle on the bottom black so it would blend in well 


It was so simple and fun now I have a cute jewelry holder instead of an old wooden one!!